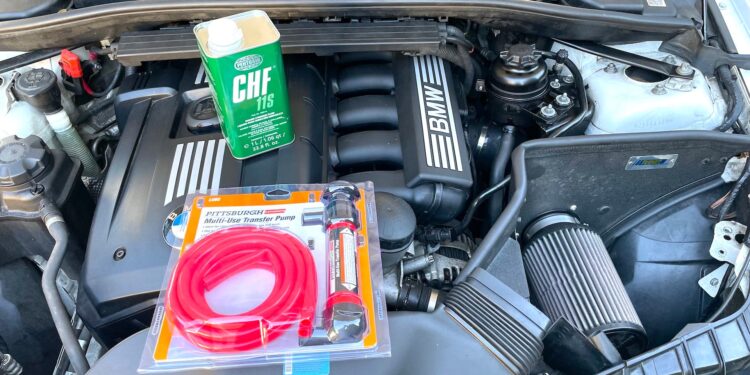
Fluid transfer pumps are a very useful part of any automotive wrencher’s toolbox. They’re designed to suck up automotive fluids out of their bottles and transfer them to their new intended home via long hoses, especially while working in tight confines like replacing differential oil, automatic transmission fluid, or manual transmission gear oil. They’re also quite handy if you need to drain a component’s fluid before replacing it, like a power steering or brake fluid reservoir.
These are simple machines, too. You don’t need a Ph.D. to operate them, but you do need to know a few things before you get started. So let’s dive and get to a workplace-safe “transferring.”
The Drive and its partners may earn a commission if you purchase a product through one of our links. Read more.
Everything You’ll Need To Use a Fluid Transfer Pump
These couple of products will ensure the most accurate and mess-free fluid transfer.
Tool List
Parts List
It’s always a good idea to ensure small children and animals aren’t around while working with automotive fluids, as they’re quite poisonous. Also, spills can make surfaces slick, so be sure to clean them up really well.
Here’s How To Use a Fluid Transfer Pump
Put on your favorite montage music and pump up the volume.
1. Ready your intended target
Loosen the cap of, and if necessary drain any fluids from, the automotive component you’re working on. If it’s a transmission, remove the fill plug before the drain plug just in case the fill plug can’t be removed. The same goes for a differential, though many differentials use only one plug, hence the use of the fluid transfer pump.
2. Prepare to Pump
Get the bottle that you’ll be sucking up fluids from, and make sure it’s stable/steady/not going to tip over. If you’re removing fluids from an automotive component and pumping them into a container, make sure it won’t get knocked over in the process.
3. Position the Catch
If you’re draining any fluids, or filling something until fluids drip out, have a drain pan underneath ready to catch it. Let’s all do our part by not introducing toxic chemicals into places where they don’t belong.
3. Pump
Remove the pump from its packaging if you haven’t already, use the appropriately sized hoses that it came with, attach them, and make sure they’re in the right orientation. In the pictured model’s case, the “IN” end means where the fluids are coming from, and “OUT” means where they’re going.
Then, simply extract and pump them into their designated new home. Be sure to follow what your vehicle’s capacities are as designated by the manufacturer, as well as what the fill procedure is. Some cars require filling until fluid spills out, others have very specific capacities.
If you’re using the pump to first drain the component and then refill, such as removing oil from a diff that doesn’t have a drain plug, it’s a good idea to run some clean oil through the pump first to clean out all the old stuff, and be sure to follow exactly what the manufacturer’s published capacity is while refilling. Though, oftentimes it’s a “fill until it drips out” kind of scenario.
Quick Advice
- Be careful of fluid spills under your car’s hood, as things like brake fluid can eat away at paint surfaces
- Be extra careful while using a fluid transfer pump to siphon gasoline and ensure it goes into a proper, safe container
- Be sure to properly dispose of all automotive fluids
- Keep all fluids away from any source of open flame or hot exhaust
- It’s a good idea to plug a fluid transfer pump’s lines after use so they don’t make a mess in storage


